
Lesson Topics
app builder
Zapier and webhooks
Send data from your Afterpattern app to Zapier, and then from Zapier to thousands of web applications including Lawmatics, Dropbox, Mailchimp, and more.
Your app sends data to Zapier using webhooks.
This lesson will show you how to add a webhook to your app, how to populate that webhook with data, and then how to direct the webhook to Zapier. Once the data reaches Zapier, you can use your Zapier account to create a "zap" that forwards the data to its final destination.
Add a Webhook
Webhooks are one of several methods of sending data from your app. It is best practice to send data from a Background Block:
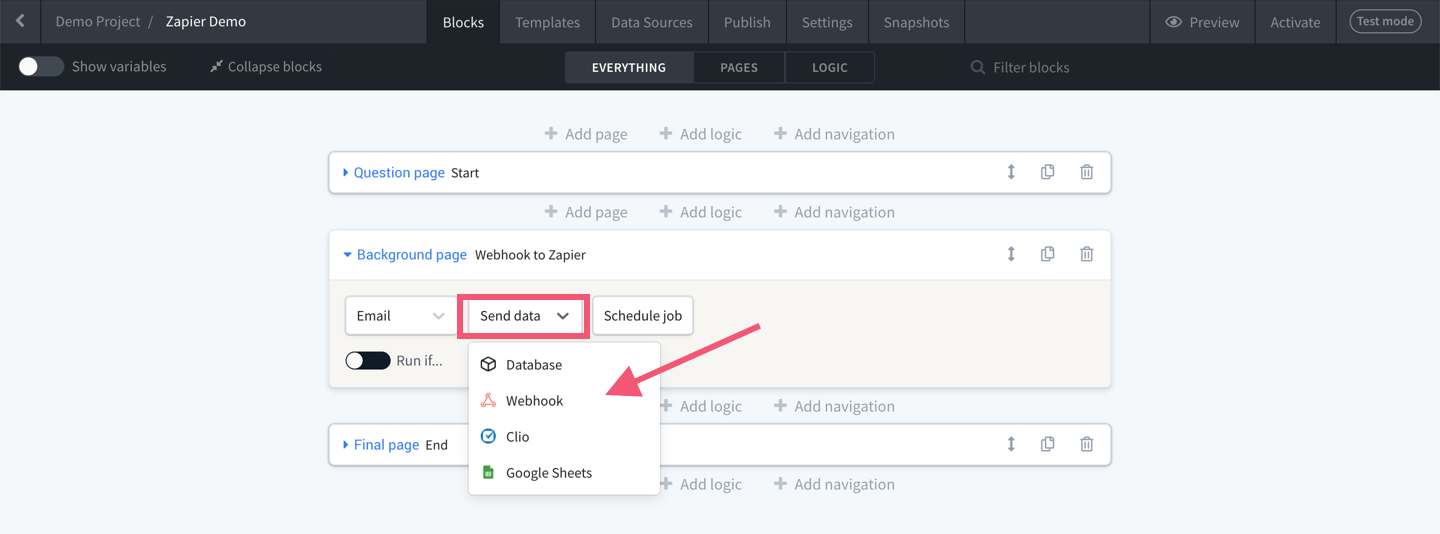
A Webhook is made up of three parts:
- URL: The universal resource locator (URL) is the location on the internet where your webhook will send data to;
- Parameters: The individual pieces of data you'll send with your webhook. Parameters are made up of Key and Value pairs, where keys are labels and value is the content. This is known as the webhook's "payload"; and
- Request method: The desired action to be performed by the webhook. You will likely only need to use the Post method (this is the method used for sending data to Zapier), but you can read this article for an explanation of each request method.

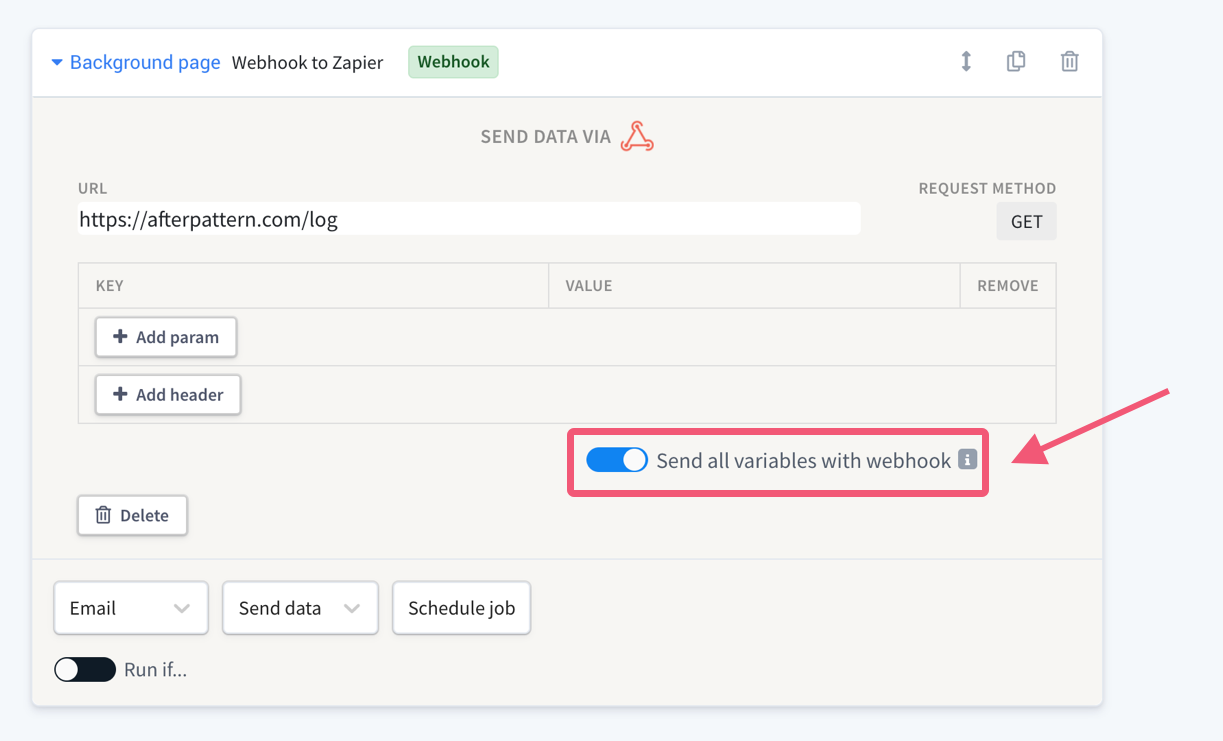
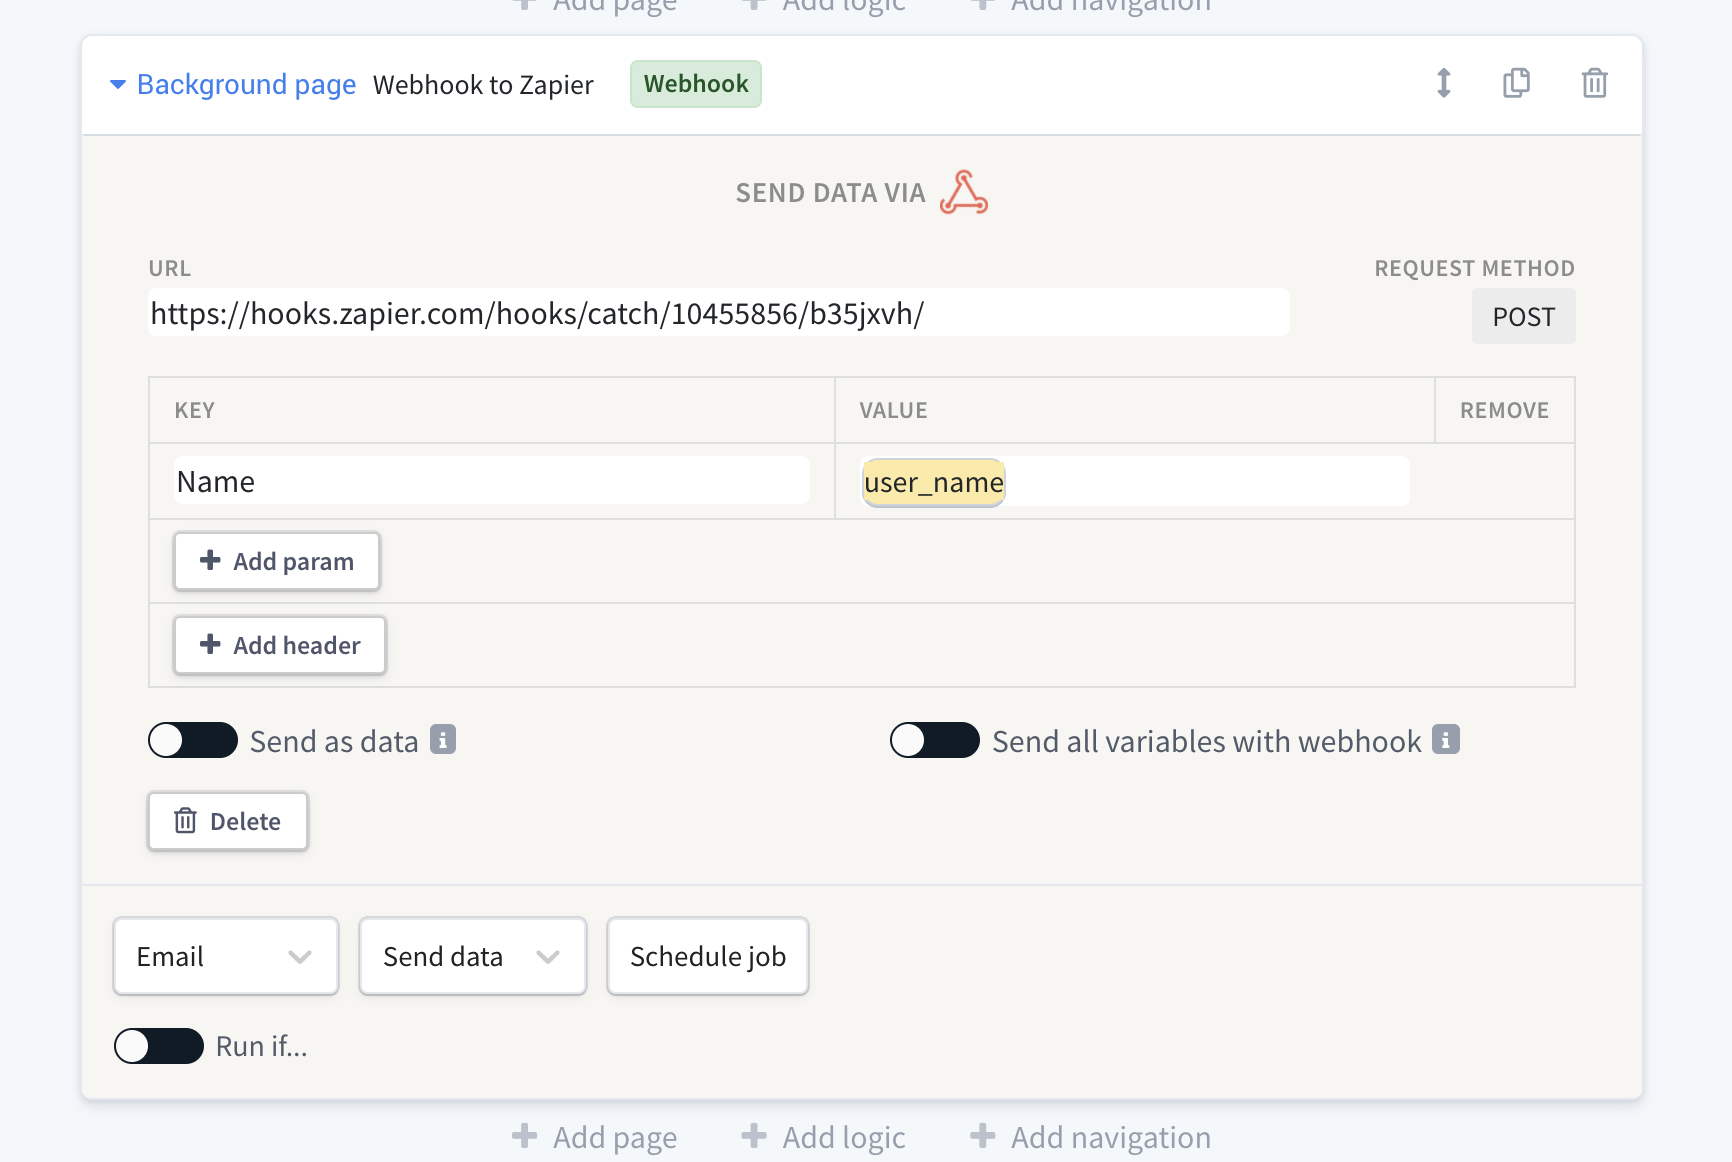
Send all variables with webhook: Instead of adding all the data in your app one at a time by clicking "+ Add param", you can click this toggle to automatically send all variables that have been defined at the point the webhook is fired:
Sending data to Zapier
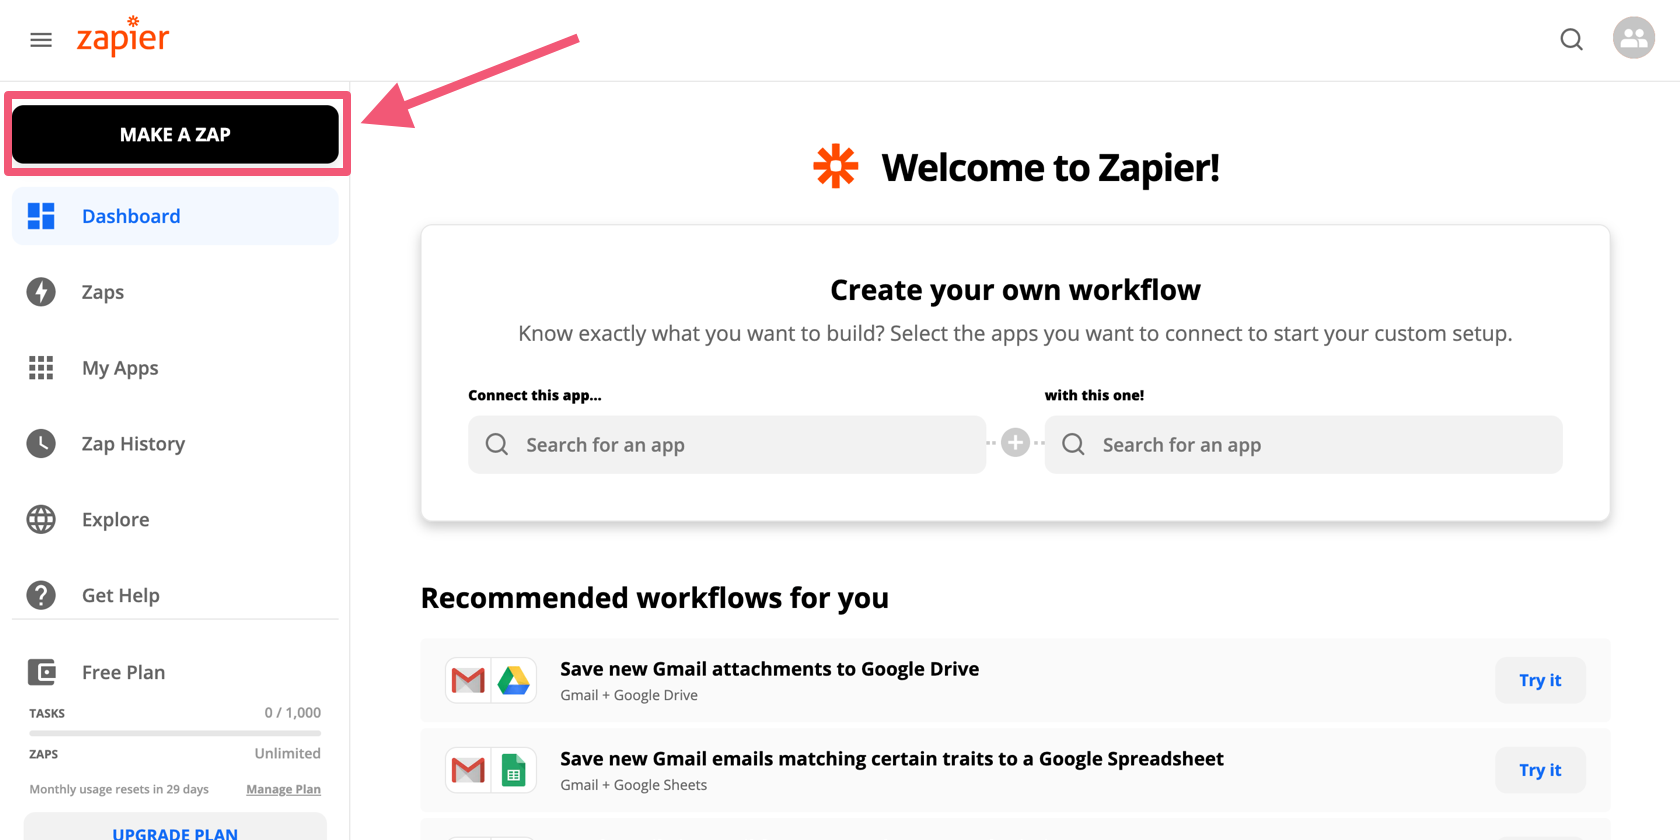
Step 1. Sign up to Zapier
You must create a Zapier account. You will need at least a Starter Zapier subscription ($19.99/month) to send data to Zapier with a webhook.
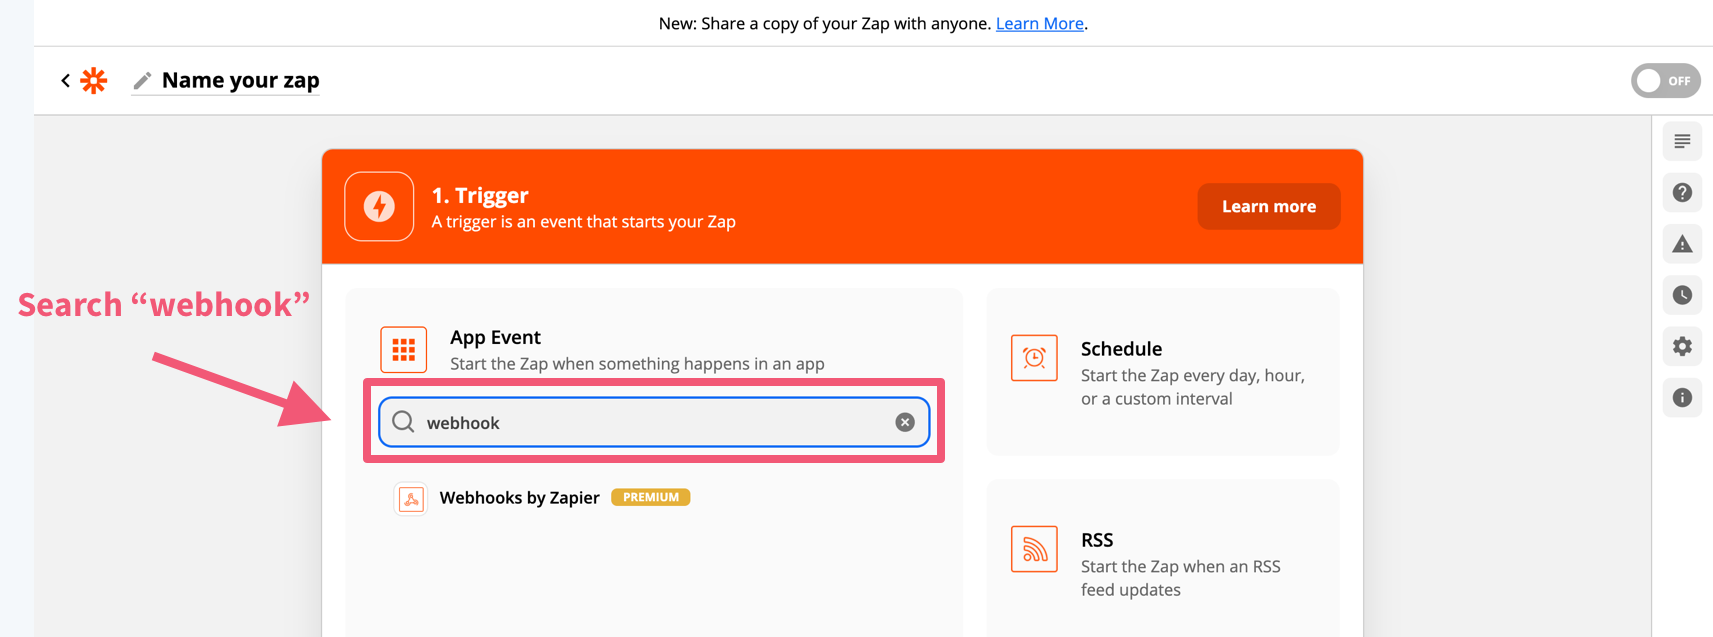
Step 2. Make a new Zap
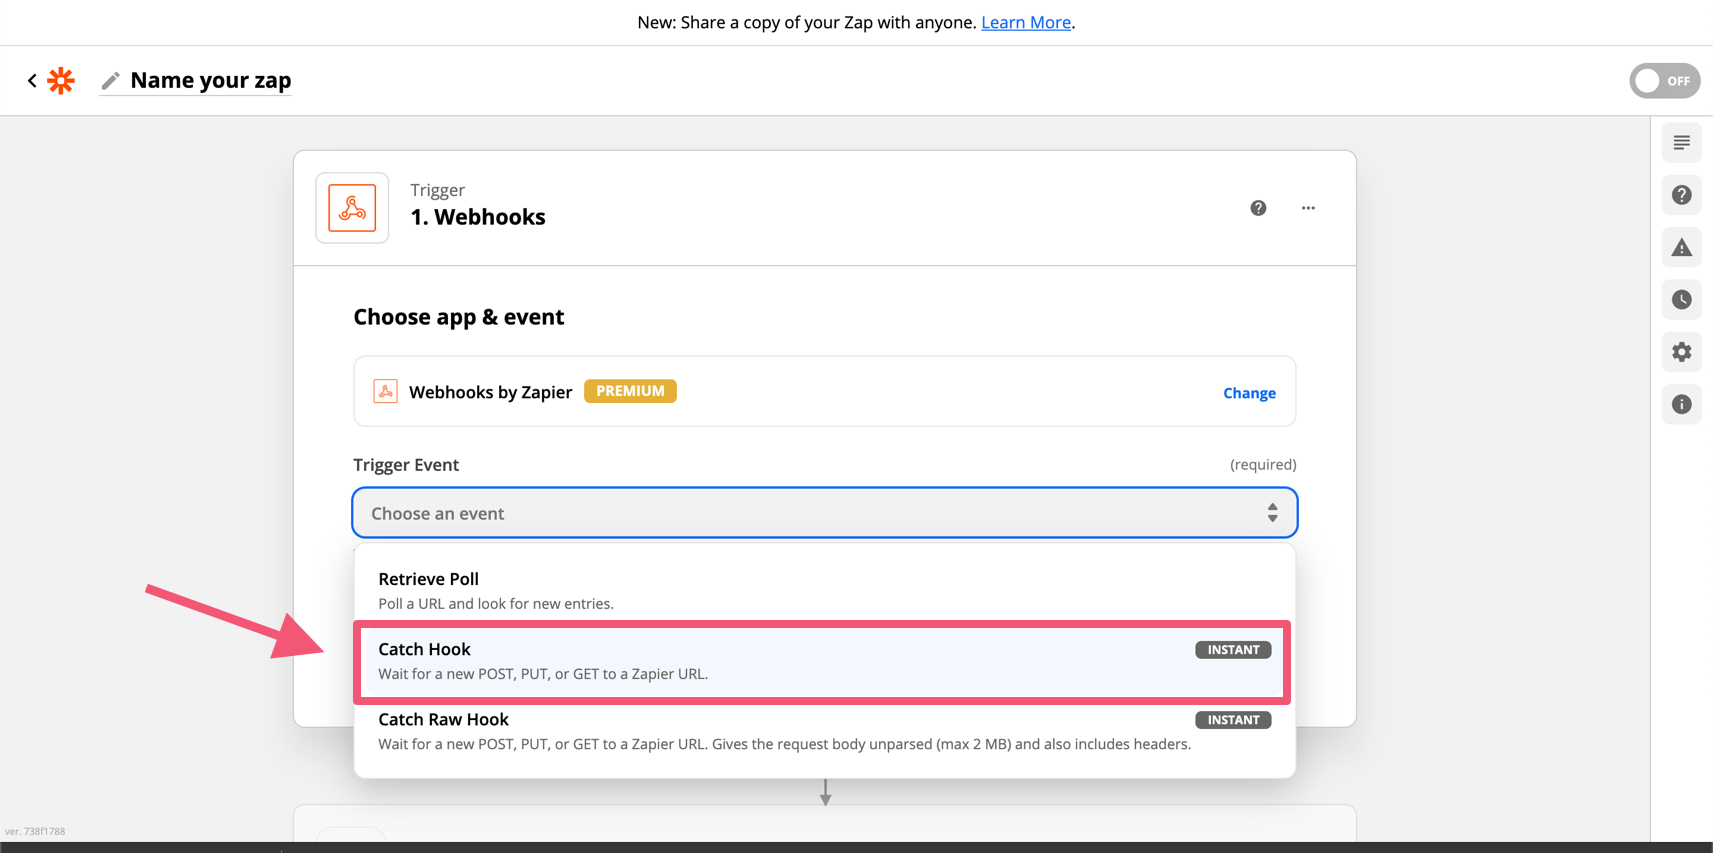
When you create a Zap, the first thing you'll need to do is specify the app event. Search "webhook":
... then, for the trigger event select "catch hook":
Step 3. Test your Zap
After you select "Catch a Hook", Zapier will provide you with a custom webhook URL. Paste this into the URL parameter of your Afterpattern webhook:
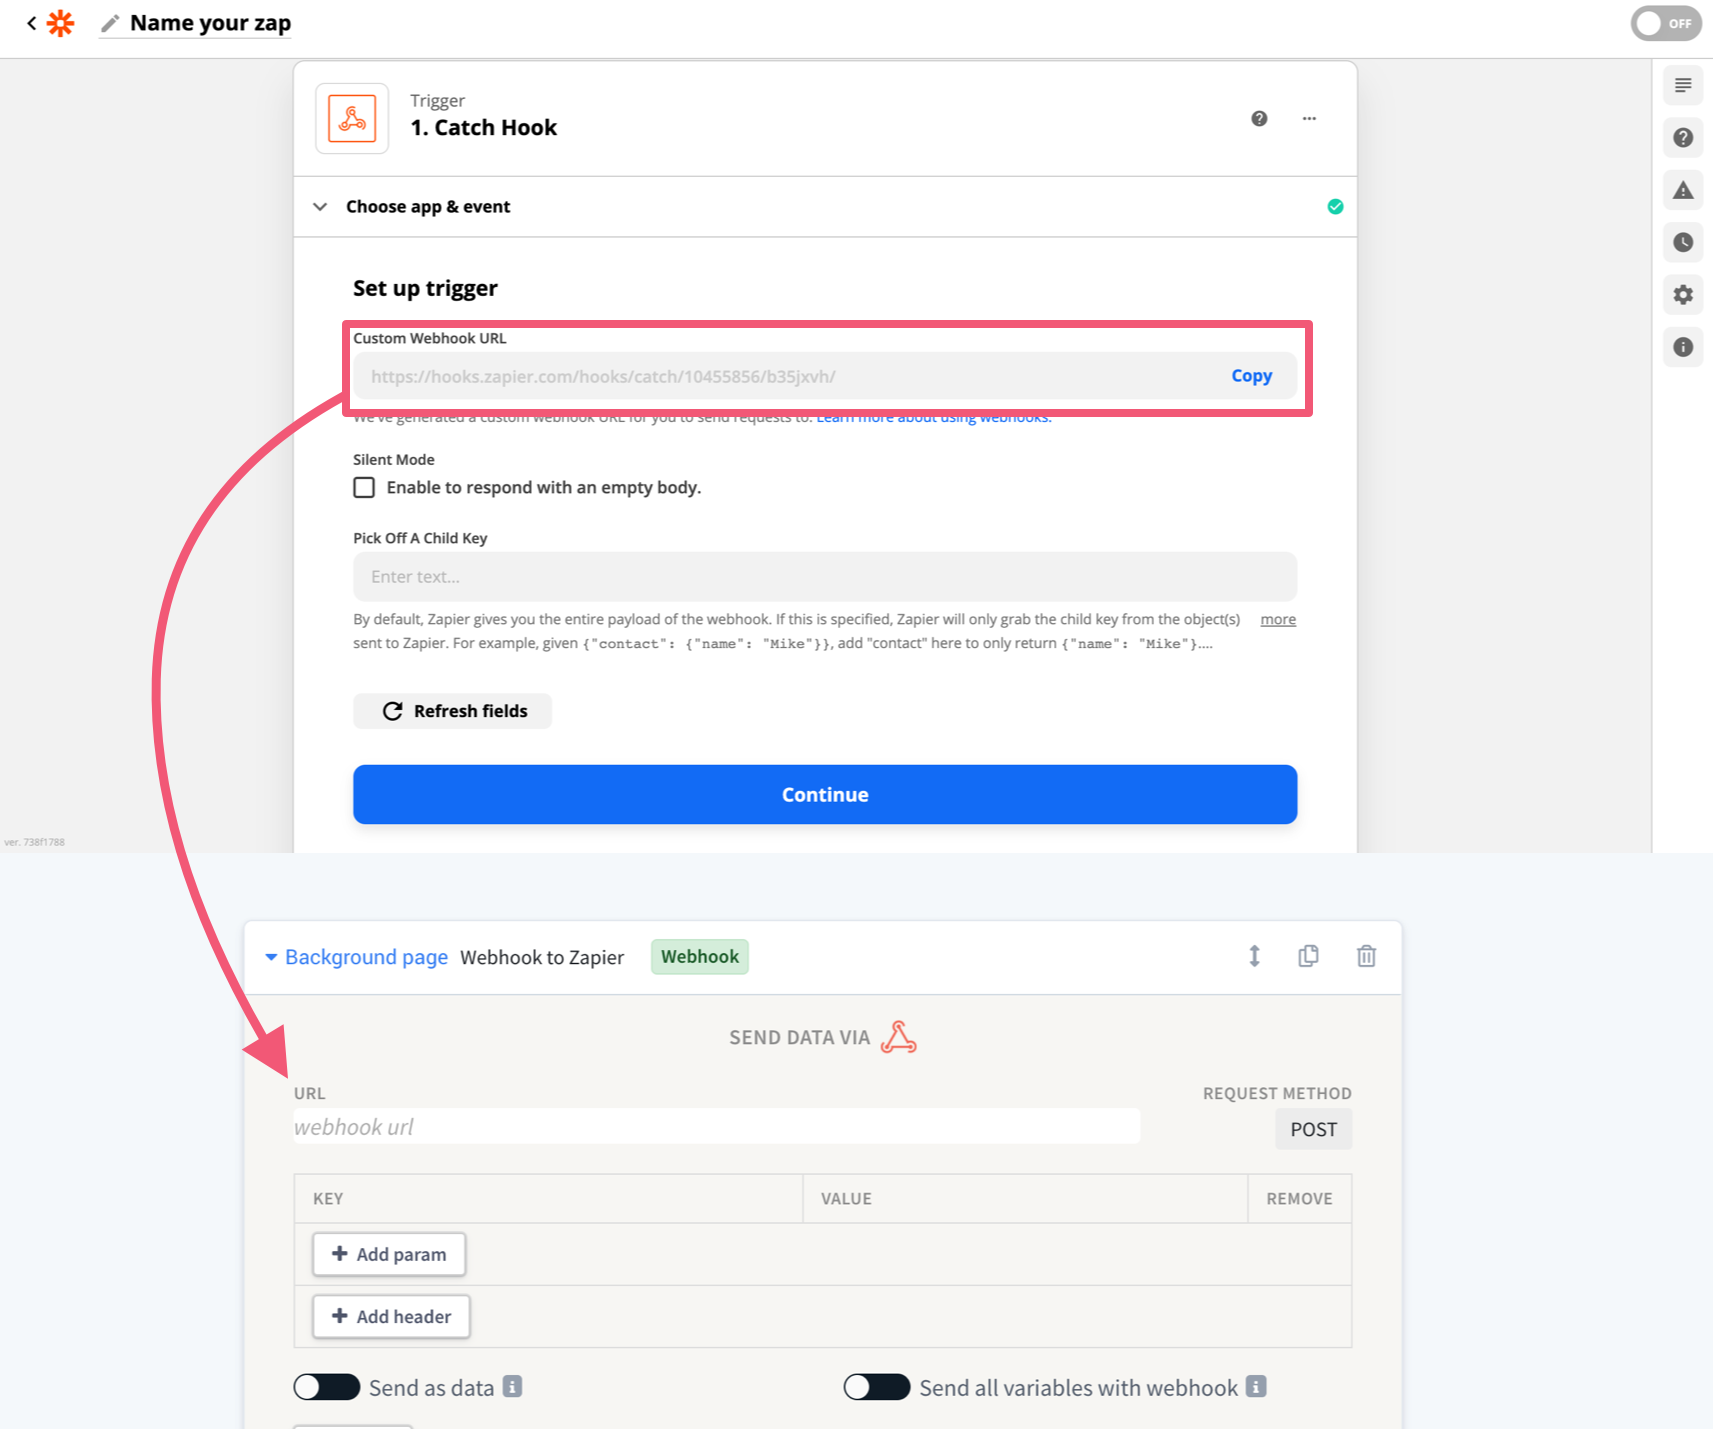
Now we're going to test your webook.
Add at least one param of data to your webhook. Here is a webhook with a param for a variable defined by a question:
Now your Zap is ready to test. Run your app at least up to the point where the webhook is triggered. After you run your app, go back to Zapier and click "Test trigger":

You should see the data from your app:
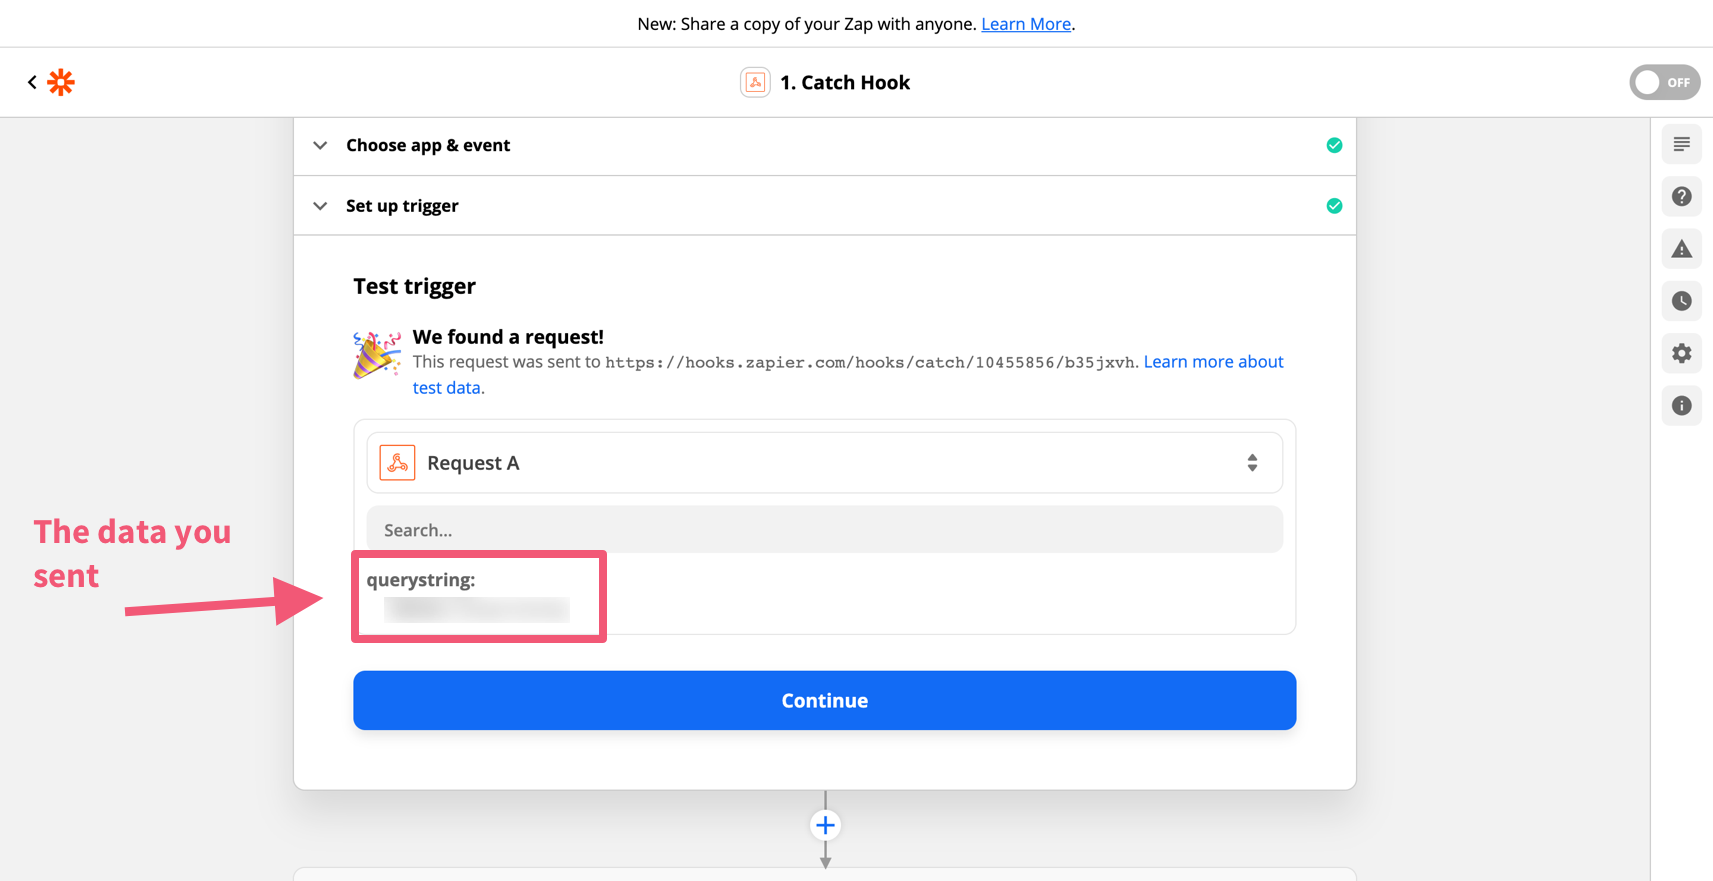
Your data will arrive in Zapier organized as Label: value, where label equals the key for that piece of data in your Afterpattern webhook.
Step 4: Complete your Zap
You are now successfully sending data to Zapier 🎉
Remember, Zapier is just a conduit. Click "Continue" to finish your Zap by selecting an app event. Read Zapier's documentation on how to set this up.
Popular integrations with Zapier
- Lawmatics: Your Afterpattern apps can send data to Zapier and then Lawmatics and perform the following actions: (i) create PNC; (ii) submit custom form entry; (iii) create appointment; or (iv) update PNC.

